Highlander Application Loadbalancer - Cognito Authentication Support
Cognito support has been added to the highlander allowing for easy implementation of basic cognito authentication to validate users. Cognito can be configured currently via the following components:
- application-loadbalancer
- ecs-service
- fargate-v2
Cognito Components
New components have been added to facilitate the implementation of cognito into highlander templates, these are as follows:
- alb-cognitio - The component responsible for generating and configuring the cognito resources
- lib-alb - This is a shared library uses across all cognito supported components
Configuring the Cognito Component
Configuring the cognito component is fairly simple, the only parameters it requires are the following:
-
DnsDomain - This is used to construct the output URL to access the application via the cognito UI.
-
CreateCognitoResources - This is a boolean used to set whether we want cognito enabled or not.
Lastly, the component will output the UserPoolId, UserPoolClientId and UserPoolDomainName. These values are used in the supported components to integrate the cognito functionality and not relevant to the user. It also outputs the URL which is relevant to the user as we use this address to access the appplication via cognito.
For further information regarding the component see the documentation here
Walkthrough
We will now cover a basic example of how to set up basic cognito authentication.
For this example we will set up cognito using the application-loadbalancer component however the logic to set up cognito with the other supported components is the same.
-
We start of by creating our highlander template as we normally would for our project. For this walkthrough we are using a simple template with the following components:
vpcapplication-loadbalancerclusterfargate-v2
-
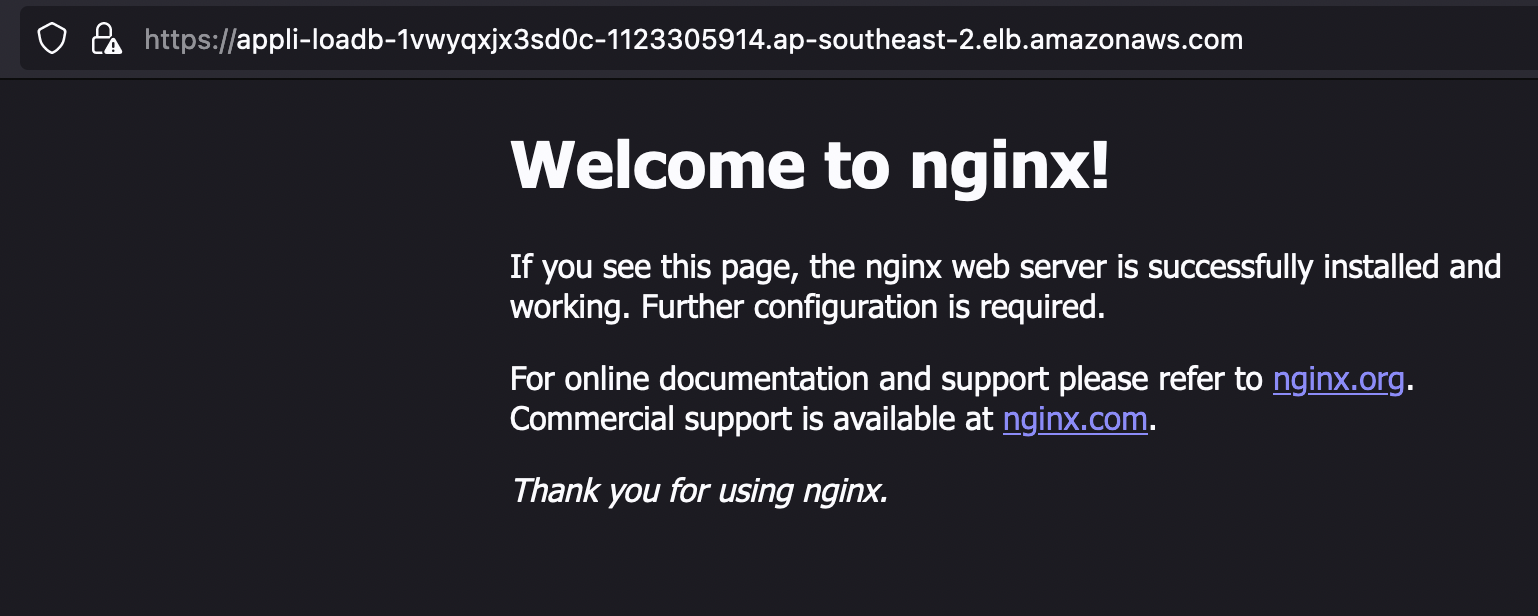
We configure our template and confirm that our application is working as expected by navigating to the load balancer dns endpoint and see our nginx screen as expected.

-
With this confirmed we are ready to add cognito authentication! We begin by adding the
alb-cognitocomponent to our template as follows:Component name: 'cognito', template: 'alb-cognitio@main.snapshot' do parameter name: 'DnsDomain', value: 'bearsetest.ci.base2.services' endBy doing this we will generate the
UserPool,UserClientandUserDomaincognito resources which are then propogated and used by the supported resources even without having to explictly define them as properties in the template. -
Next, we have to configure our VPC as to create the NS records our cognito can use to direct users. This is in two simple steps:
- Add the following parmeter to the VPC config file:
manage_ns_records: true - Add the following ComponentParams to the VPC Component
parameter name: 'dnszoneAddNSRecords', value: true parameter name: 'dnszoneParentIAMRole', value: 'arn:aws:iam::123456789123:role/DnsManager' - Add the following parmeter to the VPC config file:
-
Once that’s all done we are ready to deploy our template. We now use
cfpublishto deploy our template and wait till its deployed. -
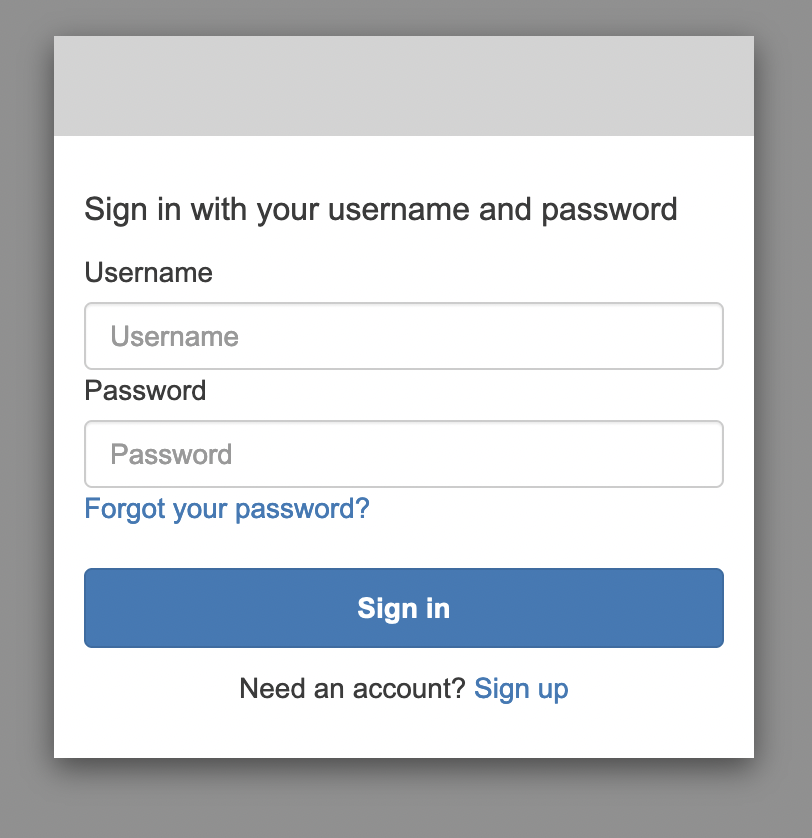
Now that our application is deployed we are ready to access it via cognito. To do this we retrieve the generated URL from our cognito components stack output. When we navigate to this URL we get greeted by the cognito sign in page!

-
In order to generate the user details to log in, we need an administrator to create a user via the cognito console. Ensure that an email invitation is sent when creating the user via the console. Note - Currently
Sign-Upis not supported and the only way to create a user is via an administrator. -
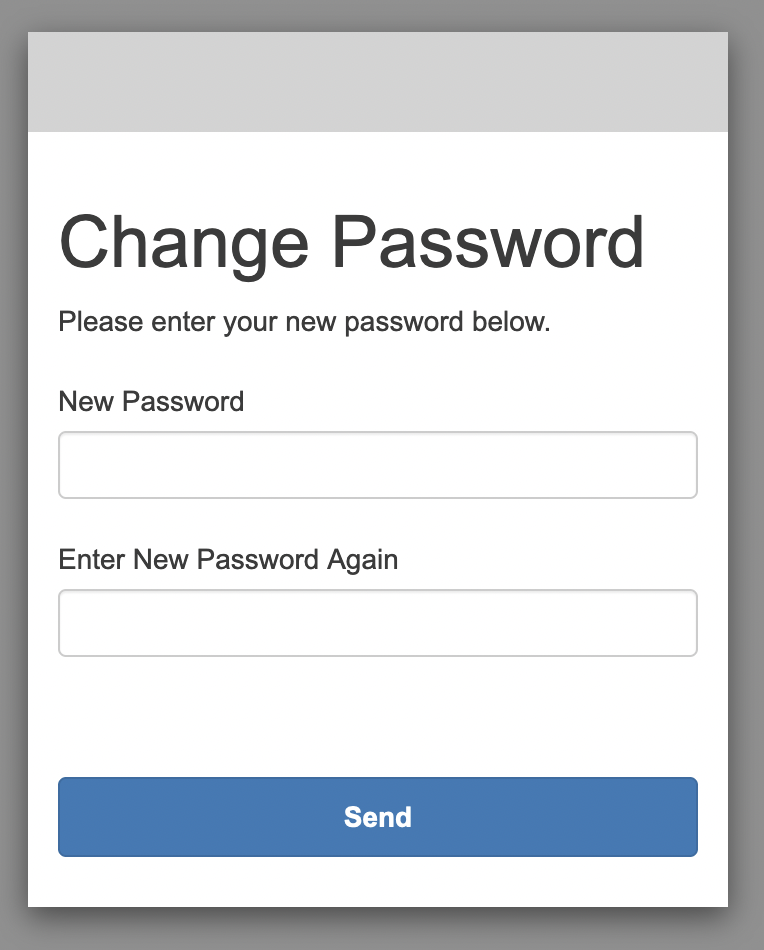
Once the user is created they will recieve an email with their temporary details to use for first time login. The user will then be asked to change their password to a secure personal one.

-
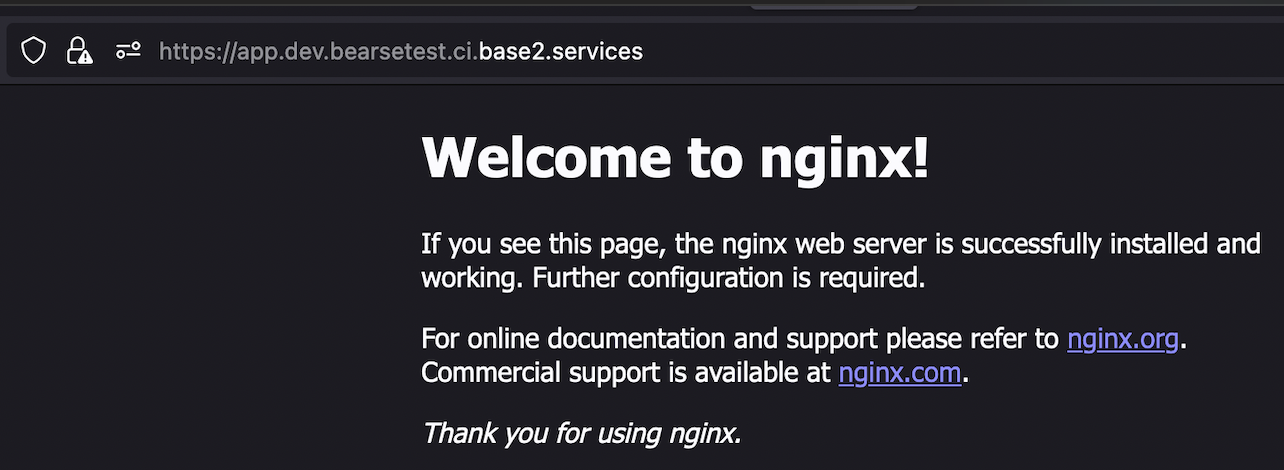
After the user creates a new password they are then authenticated via cognito and are able to access the application as expected.

For further examples and information setting up cognito, refer to the demo repository which has been setup to deploy the same template from the walkthrough which can be found here